How to Get Started in Sewing
I get asked all of the time during my streams what are good machines and projects for beginning sewers. I feel myself repeating a lot of the same things, so I thought I’d put it in a blog post so we can link back to it. Oftentimes this question depends on the kinds of things you’re interested in making. I’ll cover some of the general sewing topics. More specific discussions will happen in later blog posts.
Step 1: Get a Machine
First off, you do not need a $15,000 sewing machine like me, nor do you need a serger. Those are luxury items for people who are absolutely bat-s**t-crazy for sewing. You’re in the beginning stages. Don’t be me and go all-in until you know you love sewing so much you’re willing to forego eating anything but ramen for a year. You can pick up a very good sewing machine for less than $100. If you really want to stretch, you can go a step further and even get a machine that has embroidery options for around $350.
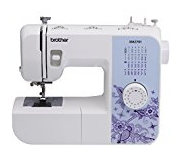
The Brother XM2701 is a great beginner machine and it’s $99.99. It has all the basic stitches you need, including buttonhole options! This is plenty to learn on. However, if you have any interest in embroidery, I always recommend the Brother SE400, which is the same machine that TockCustom uses. Embroidery is a whole different ball of wax though, so we’ll talk about that in a separate blog post later.
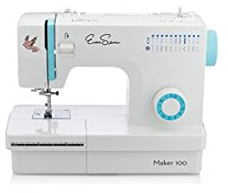
EverSewn is another lovely little brand of machines that I also recommend. They have all metal parts on the interior, are stupid simple to use, and have great stitch quality! Amazon does carry these, but if you have a local dealership (usually one that sells Bernina), you should buy there. Most dealerships will offer you free classes! If you have the extra cash to spend, this is your biggest bang for your buck purely because you get classes in addition to a machine. Their machine prices start at $129.00. Slightly higher than the Brother, but again, buy locally and you’ll probably get free classes!
Step 2: Acquire Fabric and Thread
You cannot sew without fabric, so you’ll want to pick up something that’s easy to work with and learn on without causing you to slam your fist through your table. Easy fabrics to start off with would be quilting cottons. They’re stable and are typically what beginner projects use. You don’t need anything with a designer label attached to it. Just hop down to your local fabric chain store and pick up a couple of yards of something from their quilting section. One thing to note is that quilting cottons are woven. This means they will fray on the raw edges where you’ve cut. Before washing, you can take your machine and use the zig-zag stitch to sew over the edge and it stops it from falling apart in the wash. Cottons in general are always good, though make sure to pre-wash anything before you work with it since cotton has this nasty habit of shrinking. For now, avoid knit (stretch) fabrics. That way lies madness, and it’s a whole different blog’s worth of issues to document.
Thread is the only thing I’ll yell at you about not going cheap on. For thread I also suggest people buy Gutermann branded threads. You need to get Sew-All (All Purpose). It’s not much more expensive than Coats & Clark, and it will ensure you don’t have an unsatisfactory experience dealing with clogged bobbins or broken upper threads.
Step 3: Necessary Notions
Aside from thread and fabric, you’ll want the following items from the notions aisle at your local fabric store:
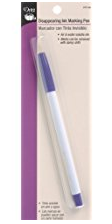
Dritz makes disappearing ink fabric pens for marking lines. They gradually disappear over time, but are great for making temporary sewing marks on your fabrics.
- Pins
- Tailor’s Chalk or Disappearing Ink Fabric Pens
- Fabric Scissors (I’m linking to the fancy Ginghers because you don’t want endless frustration with dull Fiskars. It’s worth the investment!)
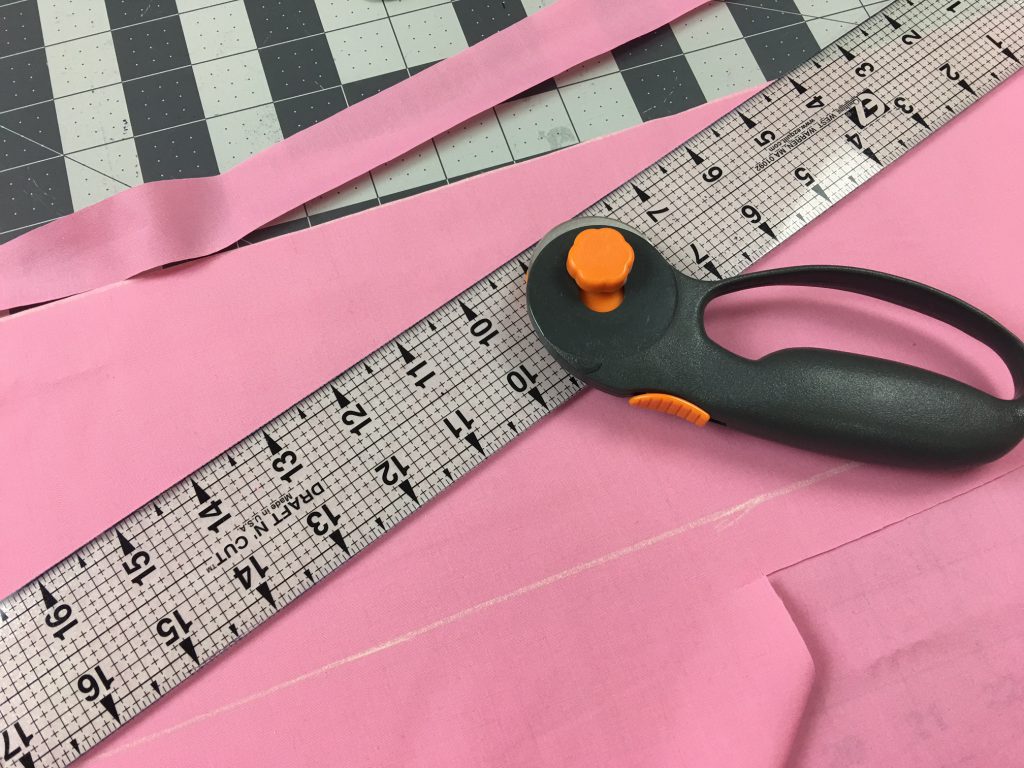
- Measuring Tape or a clear acrylic ruler (see the quilting notions for that one)
- Handsewing Needles
Some not-so-necessary notions, but that are really nice to have would be:
- Magnetic pin cushion
- Sewing Basket
- Wonder Clips (TM)
- Wonder Tape (TM) – Double Sided Water-soluble Tape
Step 4: Choosing a Project
There are a LOT of different projects you can do when learning how to sew. I say first off, start with perusing YouTube about your machine. Oftentimes you’ll find that people have put tutorials up on the brand and model that you’ve purchased. They show you the basics. After you’ve learned how to operate your machine, start first by taking a scrap piece of fabric and drawing lines either with chalk or disappearing ink pens (they do exist, check the notions aisle!) and stitching down these lines. Make some curves and learn how to stitch those as well. Learn how to feed and guide the fabric through the machine. NEVER yank on the fabric or you may pull the needle at just the wrong moment and wreck everything. Literally… everything. Again, don’t be like me.
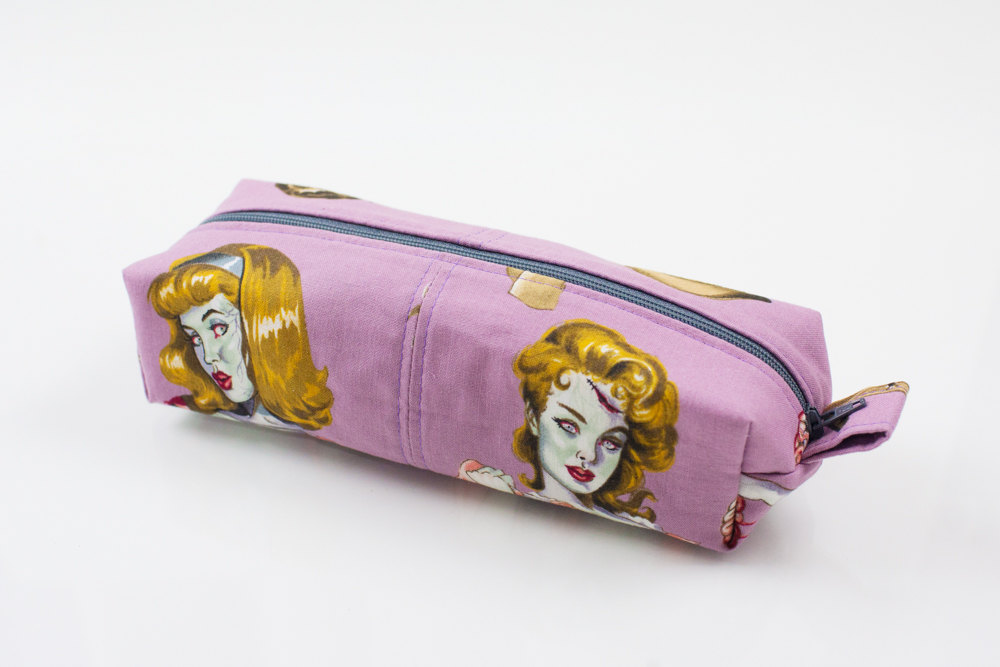
Some projects I’d suggest for beginners:
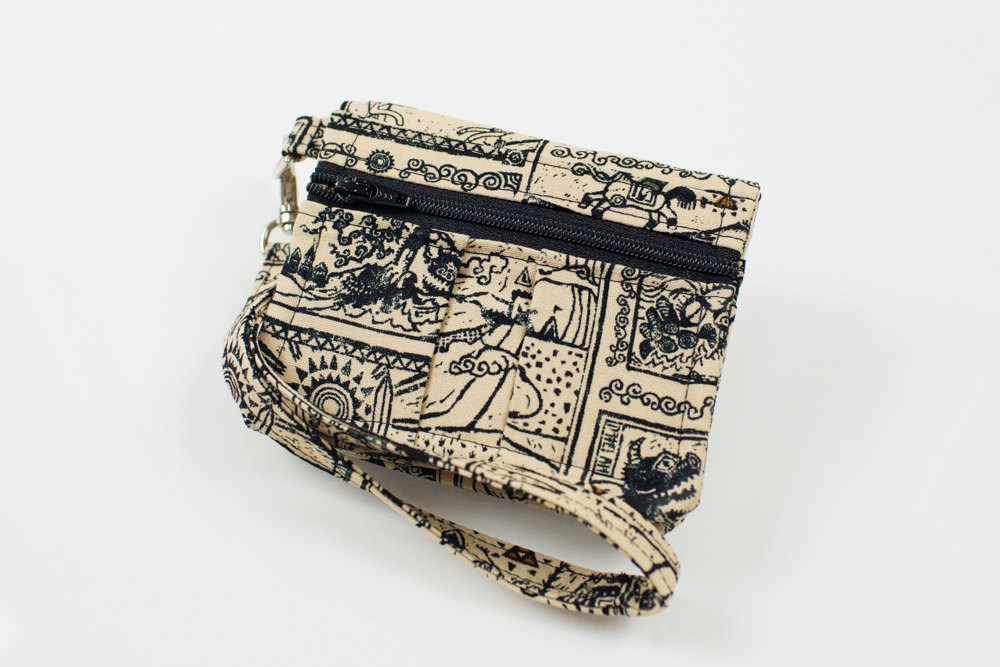
When you get more adventurous and want to leave the sewing nest, you can take on a few new techniques such as zippers, fitting clothing, etc. Here are some suggestions:
Craftsy also has a ton of awesome sewing classes for when you want to learn specific techniques!
Final Thoughts
The biggest thing you can do for yourself is TAKE YOUR TIME! Don’t feel like you have to rush through a project. If it takes you 10 hours to make a napkin, so be it! At least you’re learning. Picking up a new hobby should be fun, not work. If you’re not having fun, put the project to the side and pick up something else. Whatever you do, don’t be me and put your fist through your sewing desk when a project frustrates you.


